This has been sitting on my to-do list for a long time — take an old PC, turn it into a proper server, and actually learn what goes into keeping one alive. Not just the software side either; cracking a case open to swap RAM and storage, figuring out what still boots and what doesn't, is half the point.
I genuinely think people should know the basics of running their own server. We're deep enough into the cloud-and-subscription era that "you will own nothing and you will be happy" stopped being a joke a while ago, and owning a box that holds your own data is one of the few practical ways to keep some privacy intact without opting out of technology entirely. Same logic as knowing how to change a tire or check your oil — you don't need to be a mechanic, but knowing nothing leaves you at the mercy of whoever does. That gets more true, not less, as AI eats further into everyday computing. Tech literacy isn't optional anymore.
The Goal
Three people, one old Pentium box with 4GB RAM sitting around, and two spare 465GB HDDs. The ask: turn it into a NAS with private space for each person, pooled across both disks, reachable over a campus LAN that gates every wired port behind 802.1x.
Here's the stack that got it there.
Base OS: Debian via the OpenMediaVault installer
OMV ships its own installer image, which is really just the Debian installer with OMV pre-seeded as the target package set. No separate "install Debian, then install OMV" dance needed — one ISO, one boot.
Rough flow through the installer:
- Language / keyboard / hostname
- Network config (skipped — more on why below)
- Guided partitioning, entire disk, single partition
- Base system + GRUB install
- Reboot into a working OMV login prompt
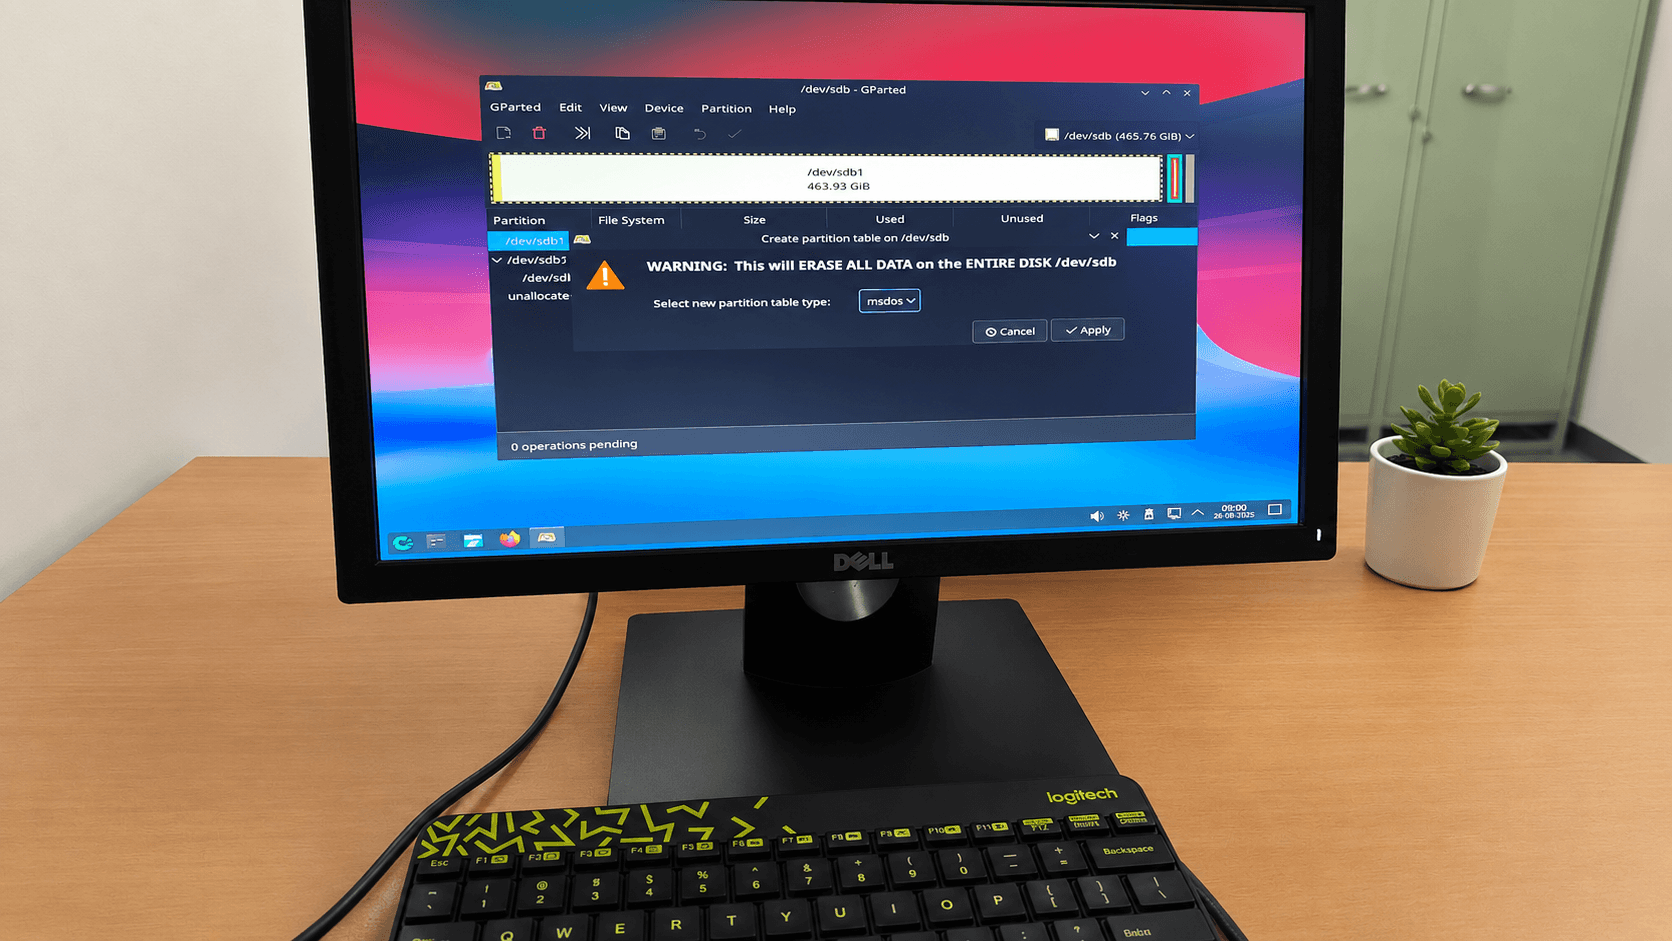
Partitioning: GParted, ahead of the install
Two physical disks, two different roles, two different partition table types:
# On the disk that will hold the OS + boot from legacy BIOS:
# GParted -> Device -> Create Partition Table -> msdos

# On the disk reserved purely for data:
# GParted -> Device -> Create Partition Table -> gpt
MBR (msdos) for the boot disk keeps GRUB happy on old BIOS-only hardware without needing a dedicated BIOS-boot partition. GPT for the pure data disk since there's no boot requirement to worry about there.
Honestly, half the appeal of this whole project was the hands-on part before any of the software mattered — cracking the case open, reseating RAM, figuring out which of the two old drives still had life left in them. Software config you can always redo from scratch; actually knowing how to handle the hardware in front of you is the part that sticks with you.
Network: 802.1x on a wired interface via wpa_supplicant
The installer's built-in network step doesn't speak 802.1x — DHCP or static only. So networking got configured after install instead, using wpasupplicant with a wired EAP profile:
# /etc/wpa_supplicant/wpa_supplicant-<iface>.conf
ap_scan=0
network={
    key_mgmt=IEEE8021X
    eap=PEAP
    identity="username"
    password=hash:<NT-hash-of-password>
    phase2="auth=MSCHAPV2"
}
Using hash: instead of a plaintext password means the file holds an NT hash (same mechanism Windows domain auth uses under the hood) rather than the password itself:
python3 << 'EOF'
import hashlib
print(hashlib.new('md4', 'password'.encode('utf-16-le')).hexdigest())
EOF
Wired into OMV's network stack via a drop-in, since OMV manages /etc/network/interfaces directly and stomps on manual edits:
# /etc/network/interfaces.d/<iface>
auto <iface>
iface <iface> inet dhcp
    wpa-driver wired
    wpa-conf /etc/wpa_supplicant/wpa_supplicant-<iface>.conf
Config file locked down since it holds a credential:
chmod 600 /etc/wpa_supplicant/wpa_supplicant-<iface>.conf
chown root:root /etc/wpa_supplicant/wpa_supplicant-<iface>.conf
Getting packages onto a box with no network yet
Chicken-and-egg problem: installing wpasupplicant needs internet, but internet needs wpasupplicant configured. Solved by chrooting into the installed-but-offline system from a live USB that already had full network support (including 802.1x via a proper desktop NetworkManager):
mount /dev/<os-disk-partition> /mnt
cp /etc/resolv.conf /mnt/etc/resolv.conf
arch-chroot /mnt

apt update && apt install wpasupplicant -y
exit
umount /mnt
reboot
Storage pooling: mergerfs across both disks
Goal was to combine both disks into one usable pool rather than treating them as two separate volumes. mergerfs (via the openmediavault-mergerfs plugin, sourced from the omv-extras repo) handles this — a FUSE union filesystem, not RAID, so no striping and no redundancy, just combined free space:
# omv-extras gets installed first, unlocks the plugin repo
wget -O - https://github.com/OpenMediaVault-Plugin-Developers/packages/raw/master/install | bash
Then, from Storage -> mergerfs in the OMV UI: select both underlying filesystems as branches, policy set to mfs (most-free-space), which spreads writes toward whichever disk has more room rather than filling one before touching the other.
One wrinkle: OMV doesn't expose the root/OS filesystem as poolable by default. The openmediavault-sharerootfs plugin fixes that by making root-filesystem paths selectable as OMV shared-folder targets, which in turn makes them usable as mergerfs branches — useful if you want to reclaim free space sitting on the OS disk instead of leaving it stranded.
Since that OS-disk branch shares space with the running system, a floor gets set so the pool never starves the OS of room to operate:
minfreespace=20G
User spaces and file sharing: Samba
Three private folders, each scoped to one user, plus standard SMB/CIFS shares layered on top:
- Storage -> Shared Folders — one folder per person, sitting on the mergerfs pool
- Storage -> Shared Folders -> Permissions — owner gets read/write, everyone else gets nothing
- Services -> SMB/CIFS — enabled, one share per folder
Connecting from client machines is the standard SMB path:
\\<nas-ip>\person1        # Windows
smb://<nas-ip>/person1    # macOS / Linux
Disclaimer: Written up with AI assistance for the explanation. The actual setup was a long back-and-forth of screenshots and terminal output, condensed here into just the tools and the shape of the solution. If any of the "own your data" ranting above resonated, an old PC and a free weekend is genuinely all it takes to get started.